


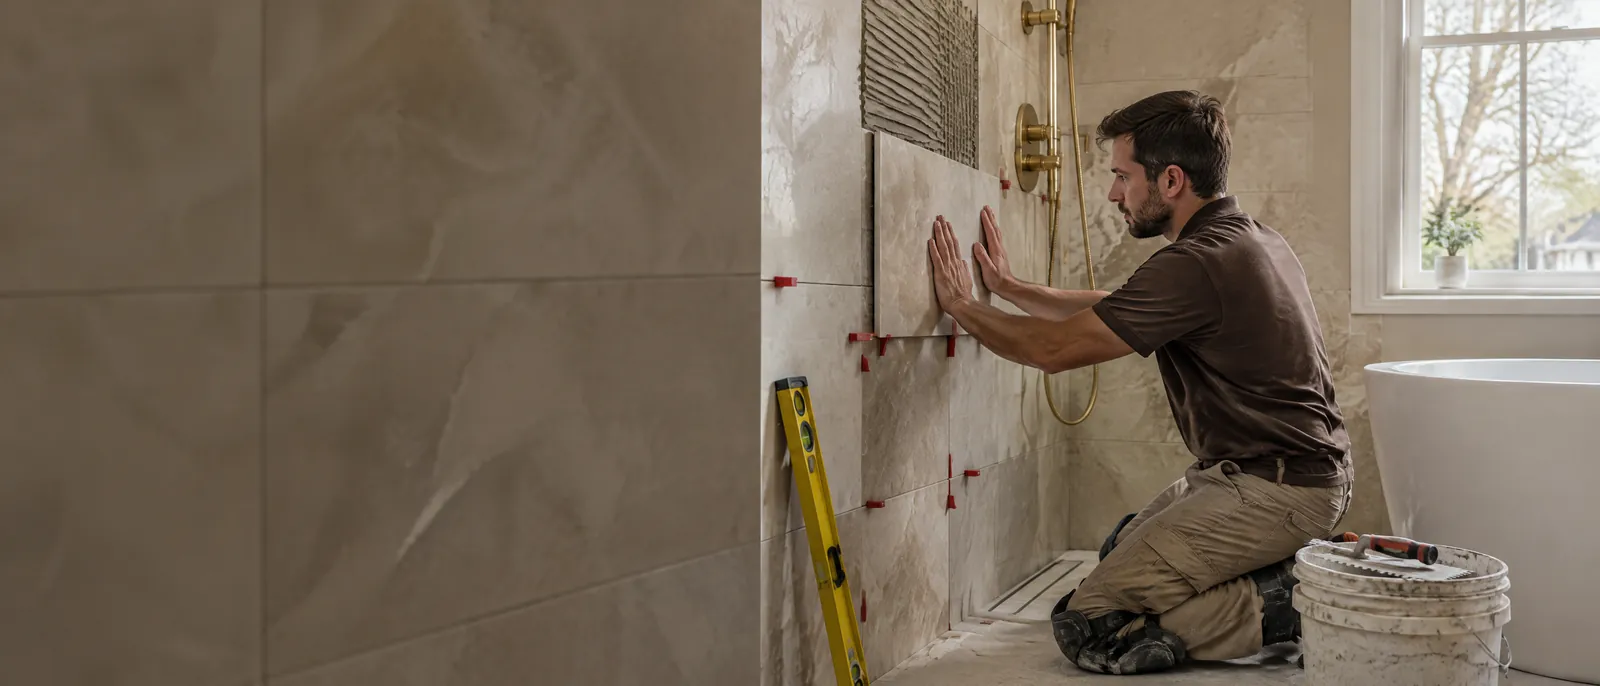
Large-format tile changes the look of a room: big porcelain panels on shower walls, long planks on a bathroom floor, a backsplash with hardly a joint in it. With so few grout lines, the surface reads as one calm plane. That is also why it is unforgiving. Small tile can follow a wavy wall, and a busy grid of joints distracts the eye. A big tile cannot bend, so every high edge and every wandering joint is out in the open.
It starts with a flat surface
Flat is not the same as level. A floor can slope toward a drain and still be flat. A large tile bridges low spots, which leaves a hollow under it, and rocks on high spots, which lifts a corner. So before any tile comes out of the box, the surface is checked with a long straightedge. High spots are ground down, low spots are filled, and everything is left clean and dry. It is slow, unglamorous work, and it decides most of the result.
Layout is planned before the first tile
With big tile, every cut is visible, so the layout is worked out before any mortar is mixed. A dry layout and a few reference lines answer the questions that matter:
- Where do the cuts land? A thin sliver against one wall and a full tile against the other looks like a mistake. Balanced cuts on both sides look intentional.
- Do the joints line up with what is already there, such as the shower niche, the drain, the window or the doorway?
- How are the rows offset? Long tiles often have a slight bow in the middle, so a half offset puts the highest point of one tile next to the lowest point of the next. A shorter offset usually hides it better.
Lippage and leveling clips
Lippage is one tile edge sitting higher than its neighbor. On a floor you feel it underfoot; on a wall, light from a window or a vanity fixture rakes across the surface and draws a shadow at every uneven edge. Leveling clips hold neighboring edges in the same plane while the mortar cures, and they are removed before grouting. They are a help, not a fix: clips cannot flatten a bad surface, and they do not replace full mortar contact on the back of the tile.
Clean cuts with a wet saw
Porcelain is dense and hard, and it chips when it is cut carelessly. A wet saw with a sharp blade leaves a clean edge without chipped corners. Where a tile edge stays exposed, at an outside corner or at the end of a backsplash, it needs a plan too, such as a mitered corner or a finished edge profile.
Grout joints and caulk where surfaces meet
Narrow grout joints suit large tile, but they have to be consistent, and the tile itself sets the limit: the more uniform the tile size, the tighter the joint can be.
Grout is rigid, so it does not belong everywhere. Wherever the surface changes plane (wall to wall in a corner, wall to floor, tile to tub or countertop), the two sides move a little independently, and grout in that joint tends to crack. Those joints get a flexible caulk matched to the grout color instead.
Planning a shower, a floor or a backsplash in large-format tile? MZ Finish Work installs tile in homes and businesses across Massachusetts and Rhode Island. Call or text (774) 433-6868, or use the quote form, for a free estimate.


Comments (0)
Be the first to comment.